Guide
This guide will explain how to set up an image corresponding to custom character generation options: classes, races (and the corresponding sub- options), and gods.
Formatting Images
Classes
There are two kinds of class icons: standard and hotbar.
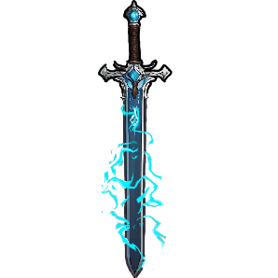
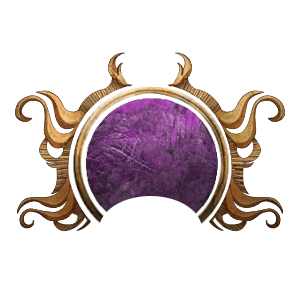
The standard image (300x300) has a background, examples of which can be seen in the Templates section. A character's main class is shown on their character sheet and in their party outliner tooltip, and their current class or subclass is shown in the Spellbook tab.
Artistically, the size of the "outline" (which is actually transparency) of an icon upon the background varies in size among official examples. 4.5 pixels (at 300px resolution) seems to be the upper limit of the outline thickness.
![]()
The hotbar image (112x112) appears on the hotbar's inventory button and in most character generation screens. It does not have a background, and the expected margins are different.
In most cases, you will want to resize your class icon to 10/17 (~60%) of its original size, then fit it onto a 112x112 image.
If your icon is particularly long and thin, either horizontally or vertically, then you might instead crop your image to your content instead of trying to replicate the margins. I formatted the icon for the Magic Knight this way.
![]()
Templates

If you want to make a class icon that matches the default style (instead of just feeding the game whatever slop comes out of an AI), BG3 Blank Class Icon Template by Ttano is a fantastic resource to start with.
If you're just looking to make a subclass, then all you need to do is match your colors to the class you're adding it to, then skip ahead to the Folder structure section.
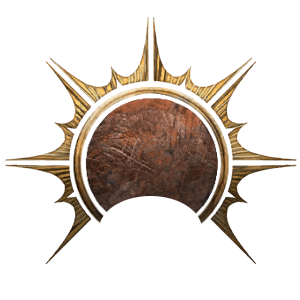
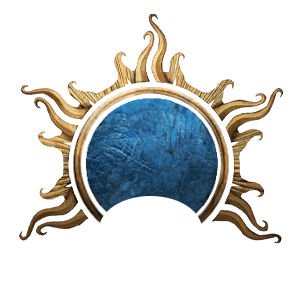
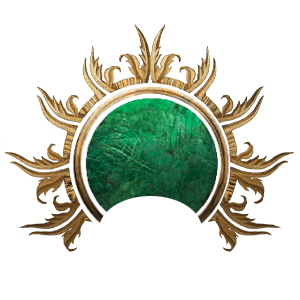
If you want to make a full class, then I have provided a set of templates (see above images) based on the different borders full classes have. These images are credit Larian, Ttano, and me (DPh Kraken).
To add a new colored background from the Class Icon Templates, you will need to scale that background from 300x300 to 264x264 pixels.
You can download my GIMP document (.xcf) with layer masks and separated borders here:
Nexus Mods
Discord: Larian Studios
Discord: BG3 Modding Community
Other CC Icons: Races/Backgrounds/Gods
Race, background, and god icons are 300x300 images. They are pure white with transparency, with the brown effect being applied by the engine.
This is a small copy of the Seldarine drow icon from bg3.wiki, showing the pure white coloration and large margins.

Folder Structure
Due to their internal similarities, subclasses and subraces use the same folder paths as the main object.
Class Icons
The images for a given class are stored here, where <class name> represents the internal name of the class or subclass.
/Data/Mods/<modname>/GUI/Assets/ClassIcons/<class name>.dds/Data/Mods/<modname>/GUI/Assets/ClassIcons/hotbar/<class name>.dds
As well as low-resolution copies with matching paths:
/Data/Mods/<modname>/GUI/AssetsLowRes/ClassIcons/<class name>.dds/Data/Mods/<modname>/GUI/AssetsLowRes/ClassIcons/hotbar/<class name>.dds
CC Icons
Race and god icons only need one image, with standard and low resolution copies. As mentioned earlier, <name> refers to the internal name of your race/subrace, background, or deity.
/Data/Mods/<modname>/GUI/Assets/CC/icons_races/<race name>.dds
/Data/Mods/<modname>/GUI/Assets/CC/icons_deities/<deity name>.dds
The copies in /AssetsLowRes/ for completeness:
/Data/Mods/<modname>/GUI/AssetsLowRes/CC/icons_races/<race name>.dds
/Data/Mods/<modname>/GUI/AssetsLowRes/CC/icons_deities/<deity name>.dds
Background Icons
Icons for backgrounds require ImpUI. They do not have a clean internal name, so you must use their <background guid> as the filename. Otherwise, they match other CC icons. (Thanks bib-qwerty-san!)
/Data/Mods/<modname>/GUI/Assets/CC/icons_backgrounds/<background guid>.dds
Low resolution background image:
/Data/Mods/<modname>/GUI/AssetsLowRes/CC/icons_backgrounds/<background guid>.dds
Importing DDS
If you have properly-encoded .dds images, you can add them to /GUI/Assets/ and /GUI/AssetsLowRes/.
For more information, see the official guide: Adding New Classes#Class Icon.
Importing PNGs
The toolkit provides another option for adding icons. You can easily import .png images with the correct filenames into your mod..
Add the corresponding images to the folder you want in /GUI/Assets/ (you don't need to add low-res assets, the game will render them automatically)
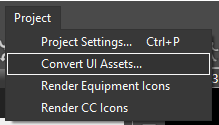
In the Editor, go to Project > Convert UI Assets…
In Add files... select the images you want to import. You will need to do this for each folder.
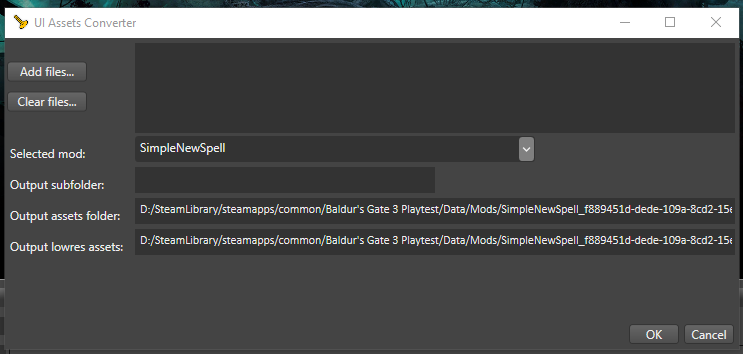
In Output subfolder, you will want to add the corresponding path, provided here for convenience:
ClassIconsClassIcons/hotbarCC/icons_racesCC/icons_deitiesCC/icons_backgrounds
When you hit OK, the game will render your icons in .dds form and write metadata for it.
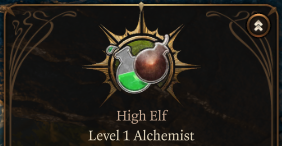
The toolkit should automatically update with your character icon! If it does not appear, then save your work and restart the editor.
Here's an example of a class icon I implemented using these steps, using an image from Paizo Publishing.
Discussion 10 comments


How to set up an image for your custom class, subclass, race, god, or background.

mod.io uses essential cookies to make our site work. With your consent, we may also use non-essential cookies to enhance your experience and understand how you interact with our services. The latter will be set only upon approval. or read our Cookies Policy.