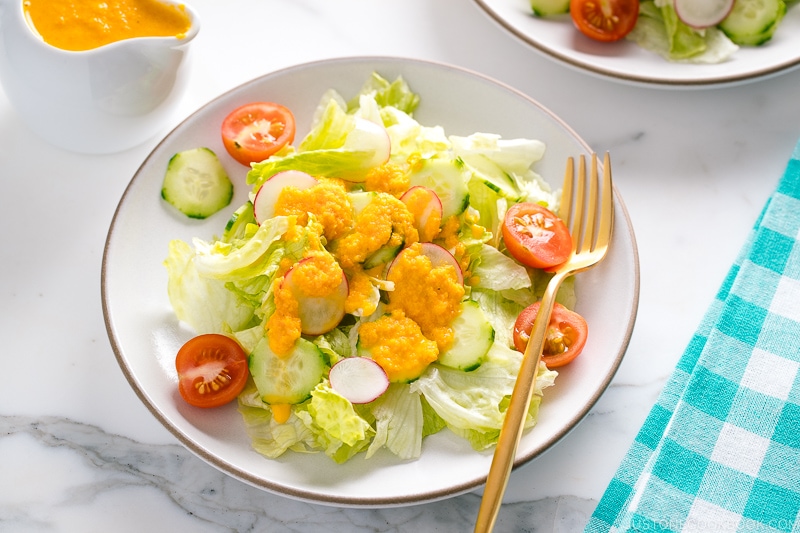
If you enjoy the salad dressing served at Japanese restaurants, this delicious Carrot Ginger Dressing recipe is for you. Seasoned with miso, rice vinegar, and sesame oil, this sweet-tangy dressing will zest up your salad. It‘s a light and refreshing addition to any meal.
Many Japanese restaurants in the U.S. serve a salad with either Sesame Dressing or Carrot Ginger Dressing (にんじんドレッシング). While the sesame dressing is creamy and mild, this carrot ginger dressing is light and refreshing with a kick of ginger. My homemade recipe tastes just like the restaurant version. If you’re a fan of this dressing, I hope you give it a try!
Why You’ll Love Carrot Ginger Dressing
- Easy and quick to make – It’s ready in just 10 minutes.
- Tastes just like Japanese restaurant dressing that you love. Maybe better!
- Healthier than store-bought – You can control the ingredients when you make it homemade.
- Versatile – Works great in any salad combination.
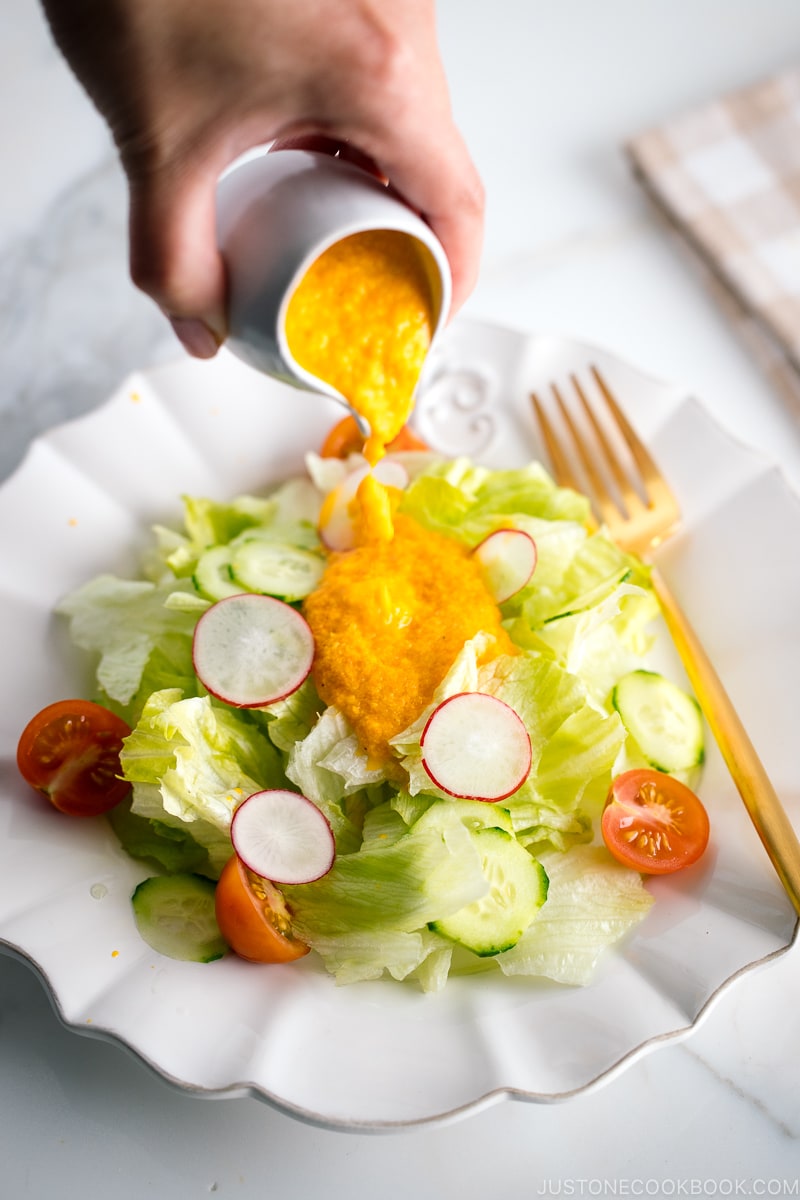
- Bright, refreshing, and zingy – Just look at the color!
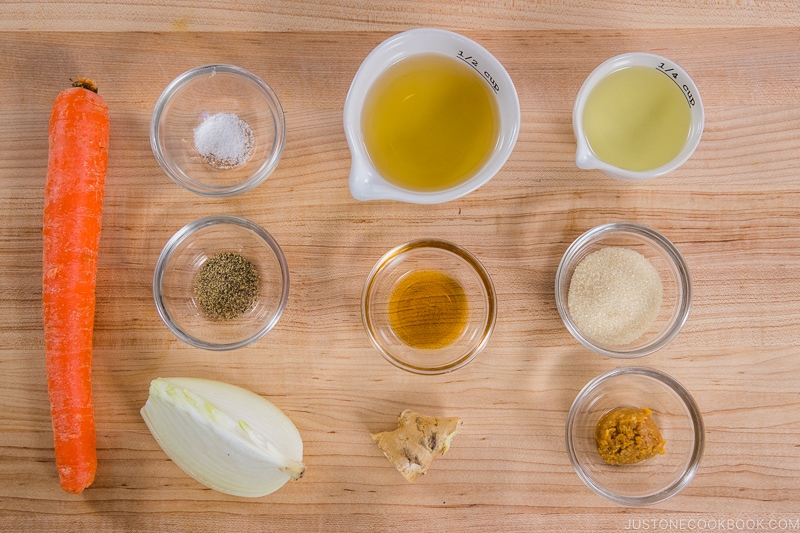
Ingredients You’ll Need for Carrot Ginger Dressing
If you cook Japanese dishes, you will likely have these 10 ingredients in your pantry and refrigerator.
- carrot
- onion
- fresh ginger
- Japanese rice vinegar – for an authentic taste, please use unseasoned rice vinegar because it is much milder in flavor than other vinegars; in a pinch, you can substitute diluted white wine vinegar or apple cider vinegar mixed with some sugar
- neutral oil – includes avocado oil, untoasted sesame oil, rice bran oil, canola oil, refined safflower oil, sunflower oil, vegetable oil, refined olive oil, grapeseed oil or peanut oil
- toasted sesame oil
- miso – I use mellow and mild white miso
- sugar
- salt
- freshly ground black pepper
Blend It Fast In a Food Processor
Using a food processor to blend the ingredients makes it easier to create a smooth texture and cuts down on prep time and total time!
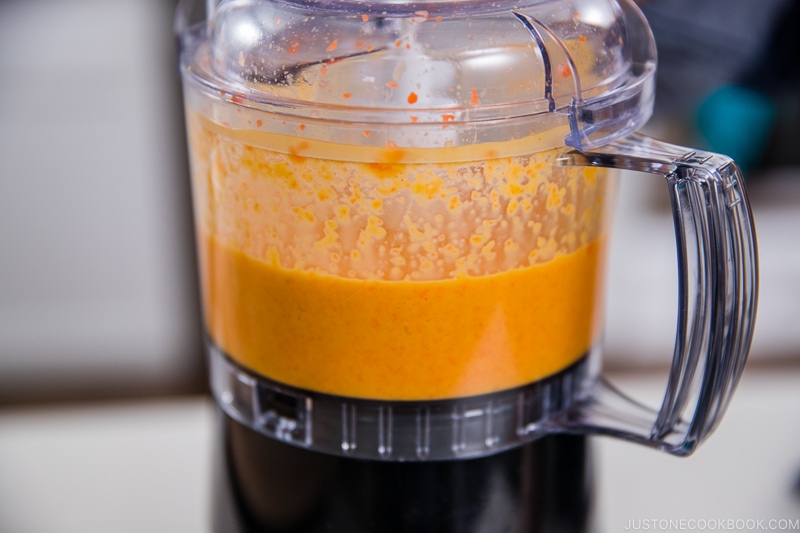
Process until the dressing is completely smooth. Taste the dressing and adjust the seasoning with salt. If it‘s too sour, add a bit more sugar. You can add water to thin it to your desired consistency. However, I don‘t add water so the dressing will keep longer.
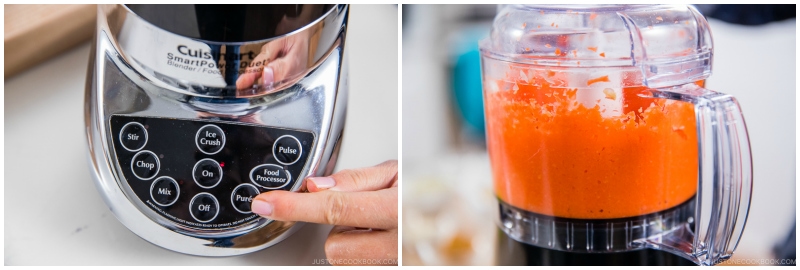
I use my Cuisinart Food Processor that I have had for years, but if you have a high-powered home blender such as Vitamix, it will work really nicely, too.
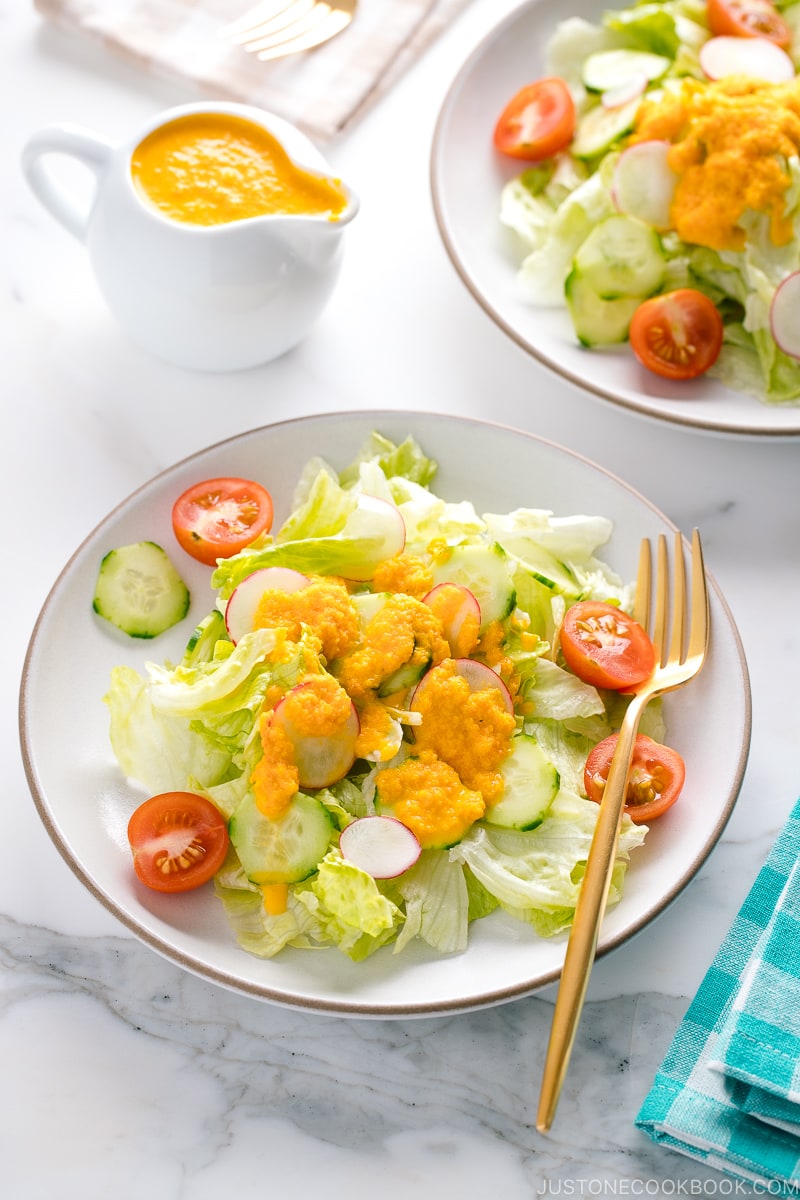
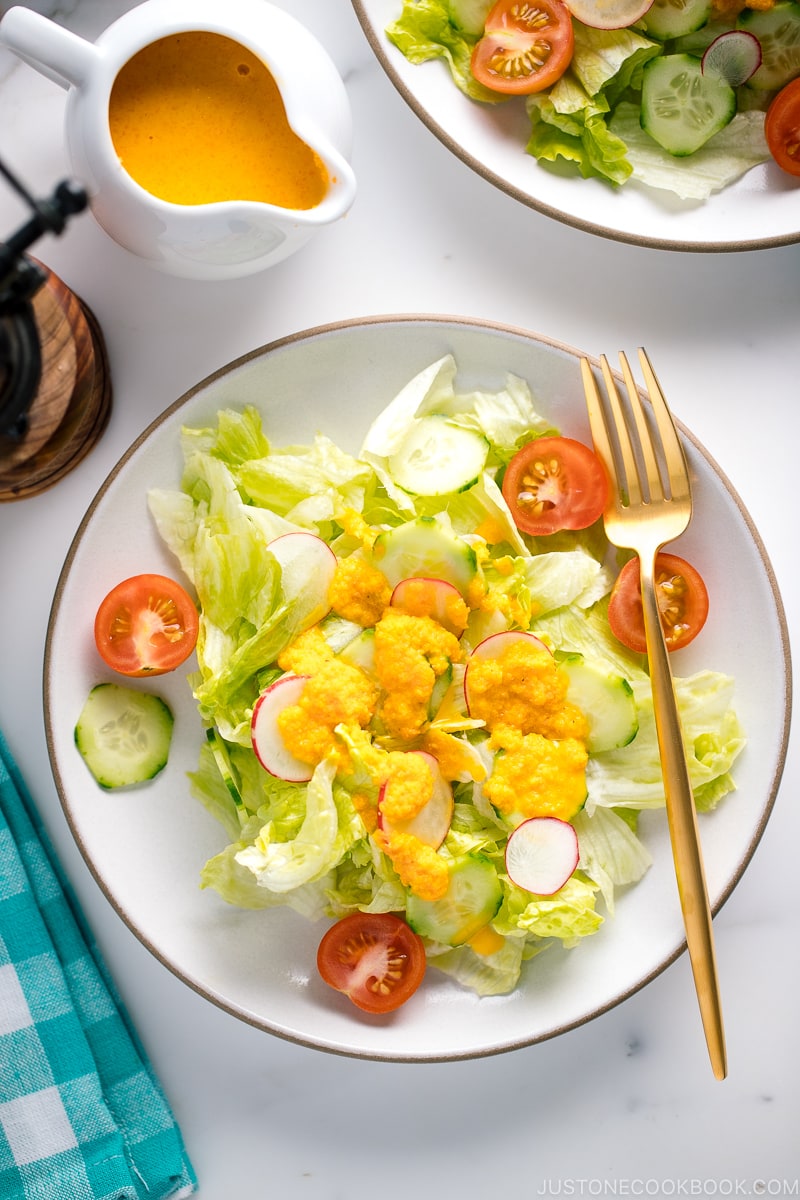
Shake well and serve over a green salad. Here, I drizzle a tablespoon or two of this Japanese carrot ginger dressing over a salad of iceberg lettuce, cucumber slices, and tomatoes.
How to Store Carrot Ginger Dressing
You can store this homemade dressing in an airtight container like a mason jar for up to 1 week in the refrigerator. I recommend pouring out what you want to use in another serving dish and putting the rest of the ginger carrot dressing back in the refrigerator right away. That way, you can keep it for up to 2 weeks. Shake well before you use it.
More Delicious Japanese Salad Dressings
- Miso Dressing
- Sesame Dressing
- Wafu Dressing (Japanese Salad Dressing)
- A Million-Dollar Japanese Onion Dressing
Wish to learn more about Japanese cooking? Sign up for our free newsletter to receive cooking tips & recipe updates! And stay in touch with me on Facebook, Pinterest, YouTube, and Instagram.

Prep Time: 10 minutes
Total Time: 10 minutes
Servings: 6 (roughly 1½ cups per batch)
- 1 carrot (4.8 oz, 135 g)
- ¼ onion (2.5 oz, 70 g)
- 1 knob ginger (1 inch, 2.5 cm; 0.6 oz, 17 g; use young/spring ginger for a milder taste, preferably)
- 1½ Tbsp sugar
- 1 Tbsp miso (use white miso for a mild, mellow taste)
- ¼ tsp Diamond Crystal kosher salt (to taste)
- freshly ground black pepper (to taste)
- 1 tsp toasted sesame oil
- ½ cup rice vinegar (unseasoned) (rice vinegar is mild; DO NOT substitute it with other vinegars as they are too acidic and strong)
- ¼ cup neutral oil
Japanese Ingredient Substitution: If you want substitutes for Japanese condiments and ingredients, click here.
Prevent your screen from going dark
Gather all the ingredients.
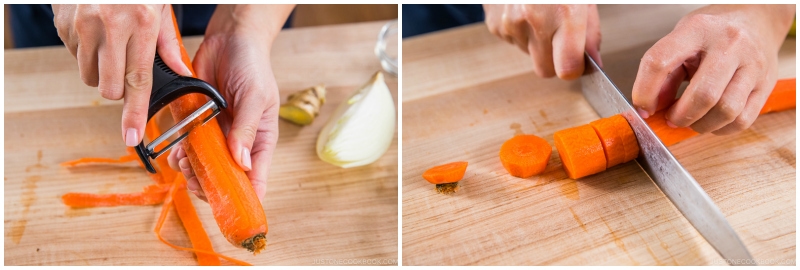
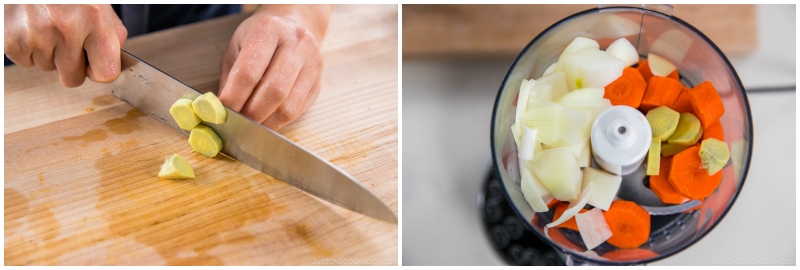
Peel 1 carrot and chop it into ½- to 1-inch (1.25- to 2.5-cm) pieces.
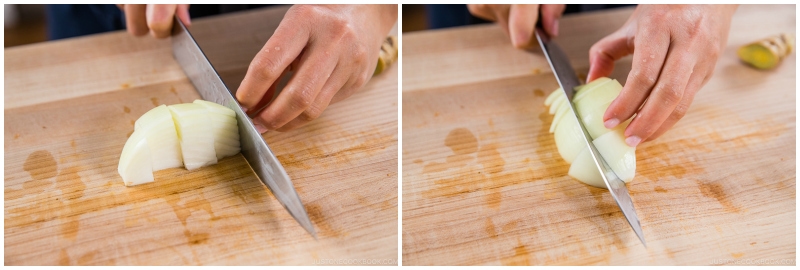
Chop ¼ onion into 1-inch (2.5-cm) pieces.
Peel 1 knob ginger and slice into small pieces. Put all the chopped vegetables into a food processor.
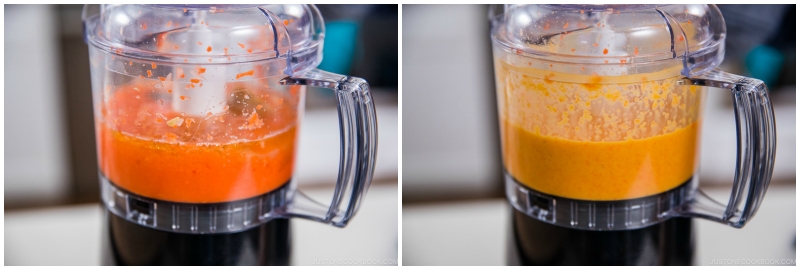
Purée until fine and smooth.
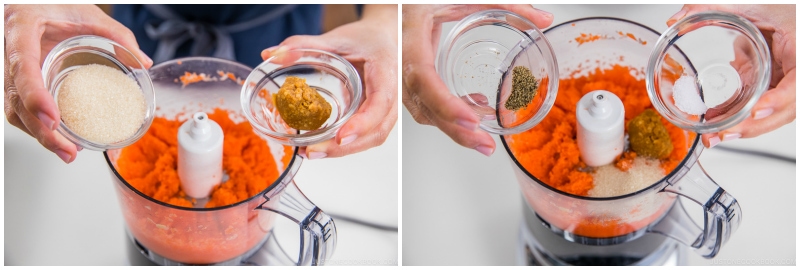
To the food processor, add 1½ Tbsp sugar, 1 Tbsp miso, ¼ tsp Diamond Crystal kosher salt, and freshly ground black pepper.
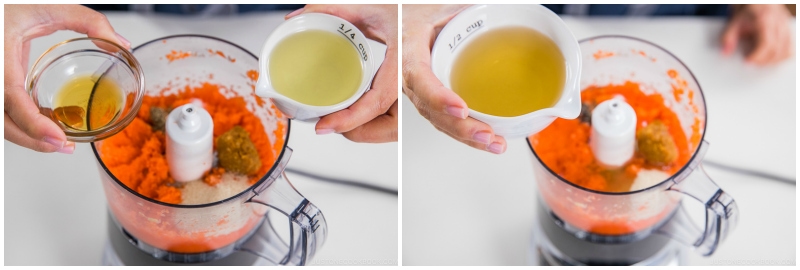
Add 1 tsp toasted sesame oil, ½ cup rice vinegar (unseasoned), and ¼ cup neutral oil.
Process again until the dressing is completely smooth. Taste the dressing and adjust the seasoning with salt. If it‘s too sour, add a bit more sugar. If you prefer the dressing to be lighter, add water to thin it (I don‘t add water so the dressing will keep longer).
To Serve
Shake well and serve over a green salad (here, I have iceberg lettuce, cucumber slices, and tomatoes).
To Store
You can store the dressing in an airtight container or mason jar for up to 1 week. If you take out the portion you need and put the dressing back into the refrigerator right away, it will keep for up to 2 weeks. Or, you can store it in the freezer for up to a month.
Calories: 121 kcal · Carbohydrates: 7 g · Protein: 1 g · Fat: 10 g · Saturated Fat: 8 g · Sodium: 170 mg · Potassium: 96 mg · Fiber: 1 g · Sugar: 5 g · Vitamin A: 3792 IU · Vitamin C: 2 mg · Calcium: 13 mg · Iron: 1 mg
Course: Condiments
Cuisine: Japanese
Keyword: carrot, dressing, ginger, miso, salad
©JustOneCookbook.com Content and photographs are copyright protected. Sharing of this recipe is both encouraged and appreciated. Copying and/or pasting full recipes to any website or social media is strictly prohibited. Please view my photo use policy here.
If you made this recipe, snap a pic and hashtag it #justonecookbook! We love to see your creations on Instagram @justonecookbook!
Editor’s Note: This post was originally published on Mar 23, 2014. The post has been updated with new images and step-by-step images in April 2020.
This post may contain affiliate links. Please read my disclosure policy for details. As an Amazon Associate, I earn from qualifying purchases.