Try my simple and refreshing Japanese-style vinaigrette called Wafu Dressing. It’s a versatile and delicious homemade Japanese salad dressing that pairs well with any type of salad combo. You can make it at home in just 10 minutes!
Today, I’m sharing a reader recipe request for my Japanese salad dressing called Wafu Dressing. Wafu (和風) means Japanese-style. You might have heard another Japanese food term that starts with “wa” and that is wagyu (和牛), which means Japanese beef. Washoku (和食) means a Japanese meal and wagashi (和菓子) means a Japanese confectionery.
Table of Contents
What is Wafu Dressing?
Generally, wafu dressing (和風ドレッシング) is a Japanese-style salad dressing made with vegetable oil, rice vinegar, and soy sauce. Japanese home cooks each have their own recipe for it. I add grated onion to my version to make it extra flavorful.
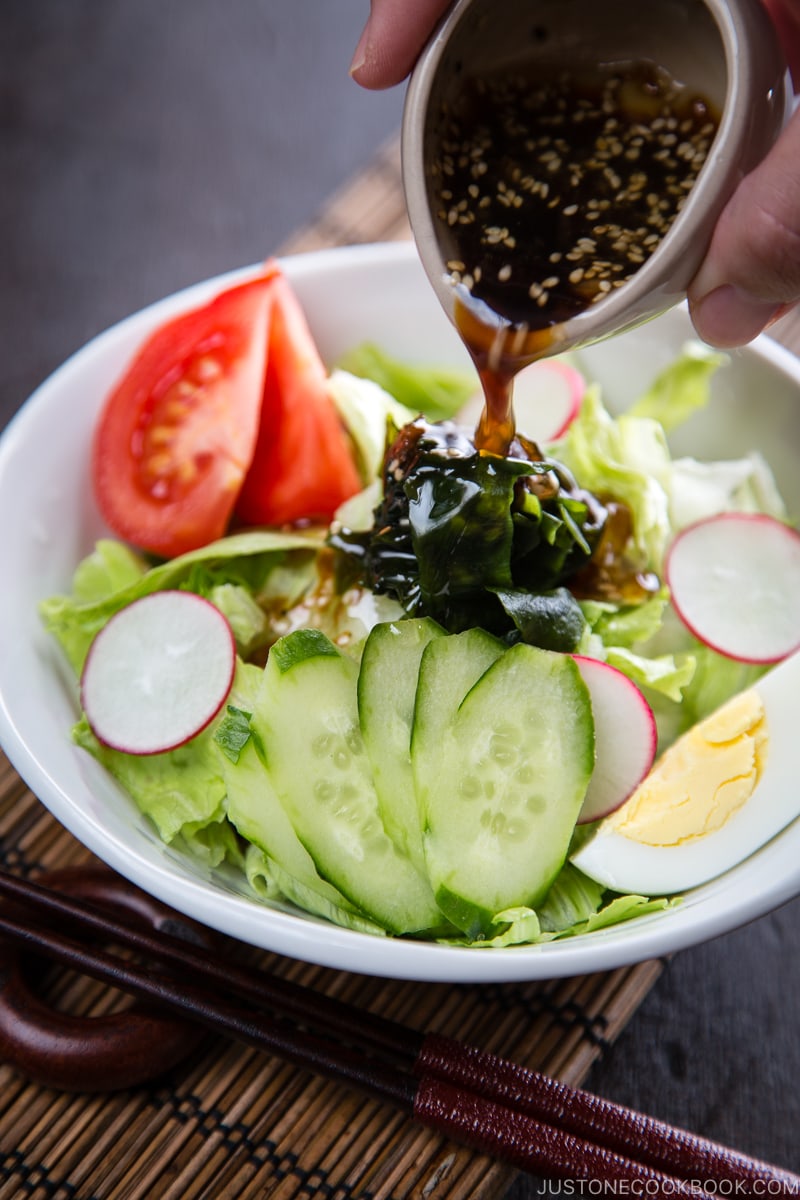
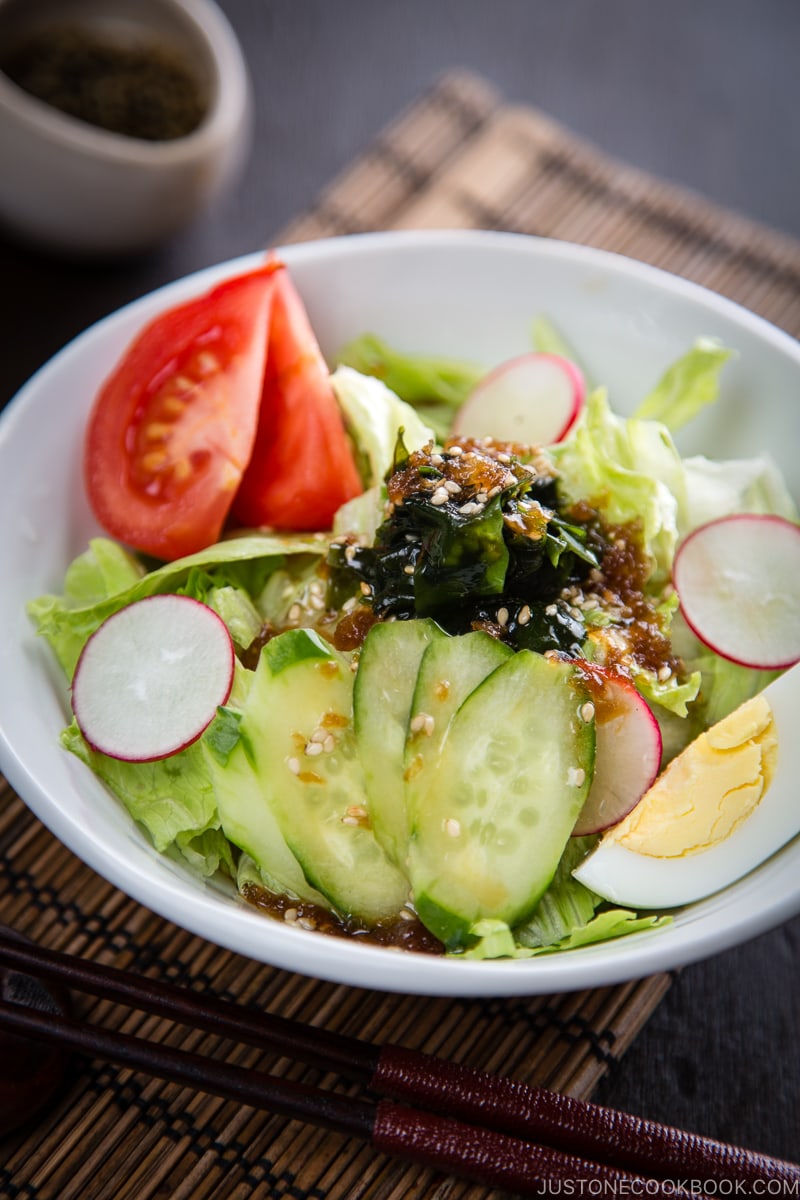
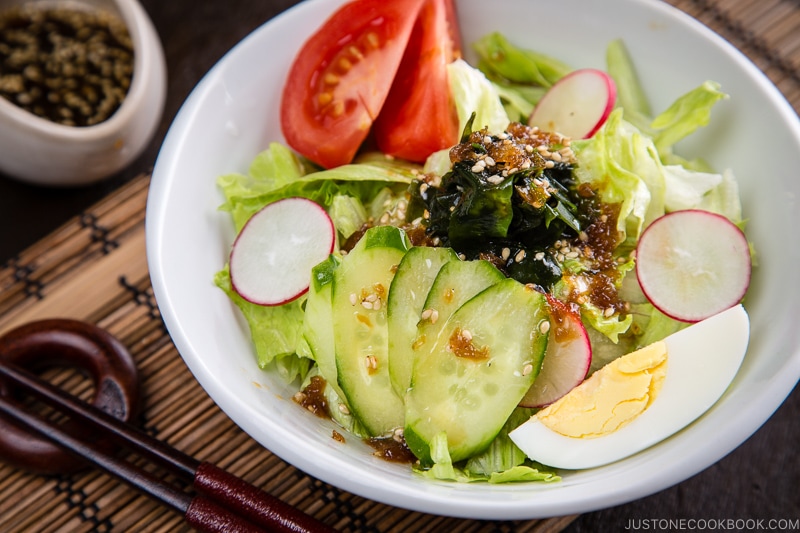
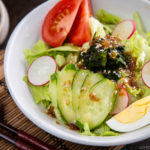
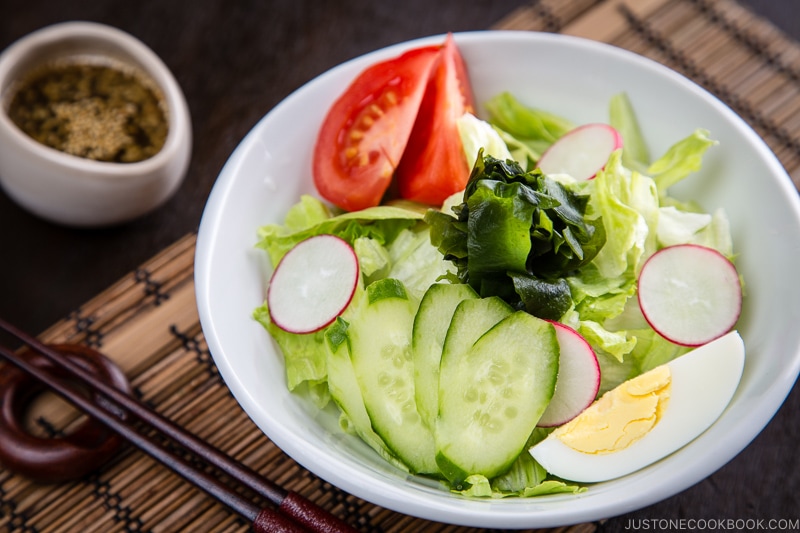
I drizzle this vinaigrette on a simple wafu salad of hand-torn iceberg lettuce topped with tomatoes, boiled egg, wakame (seaweed), cucumbers, and red radishes. You also could try it on any cooked or raw salad, a noodle salad with soba noodles, or your favorite mix of lettuces.
There are so many kinds of wafu dressing choices available in Japanese supermarkets. In my opinion, dressing made from scratch is superior because it has no MSG or preservatives. Also, I love that you can adjust the taste as you wish. The ingredients and condiments are very typical for a Japanese kitchen, so I hope you will give this recipe a try!
Ingredients You’ll Need
This Japanese dressing comes together in just 10 minutes. Simply combine the ingredients in a bowl or mason jar and whisk:
- grated onion — my special ingredient for extra flavor!
- neutral oil — for a variation, you can replace with olive oil or your favorite type; replace some of it with sesame oil to make Chinese-style dressing called chuka dressing (中華ドレッシング)
- Japanese soy sauce
- Japanese rice vinegar (unseasoned)
- sugar — I use granulated sugar; feel free to experiment with other sweeteners like brown sugar
- freshly ground black pepper
- toasted white sesame seeds
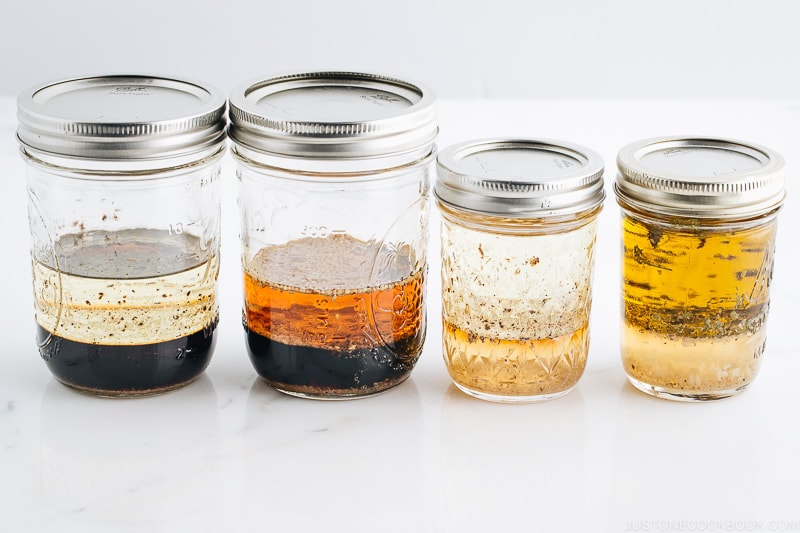
This versatile salad dressing keeps for 7–10 days in the refrigerator. Make a big batch in a blender and use it in your menu throughout the week!
More Homemade Salad Dressings You’ll Love
- 4 Japanese Salad Dressings
- Sesame Dressing
- Carrot Ginger Dressing
- Miso Dressing
- A Million-Dollar Japanese Onion Dressing
Wish to learn more about Japanese cooking? Sign up for our free newsletter to receive cooking tips & recipe updates! And stay in touch with me on Facebook, Pinterest, YouTube, and Instagram.
Prep Time: 10 minutes
Total Time: 10 minutes
- 1 Tbsp grated onion (I use a ceramic grater)
- 3 Tbsp neutral oil
- 3 Tbsp soy sauce
- 3 Tbsp rice vinegar (unseasoned)
- 1 Tbsp sugar
- freshly ground black pepper
- 1 tsp toasted white sesame seeds
Japanese Ingredient Substitution: If you want substitutes for Japanese condiments and ingredients, click here.
Prevent your screen from going dark
Combine all the ingredients in a bowl or mason jar and whisk everything together. Drizzle on top of a simple salad. Here, I prepared hand-torn iceberg lettuce topped with tomatoes, boiled egg, wakame, cucumber, and red radish.
To Store
Keep the dressing in an airtight container and store in the refrigerator for 7–10 days.
Calories: 159 kcal · Carbohydrates: 6 g · Protein: 2 g · Fat: 14 g · Saturated Fat: 2 g · Polyunsaturated Fat: 8 g · Monounsaturated Fat: 3 g · Trans Fat: 1 g · Sodium: 961 mg · Potassium: 8 mg · Fiber: 1 g · Sugar: 4 g · Vitamin A: 1 IU · Vitamin C: 1 mg · Calcium: 8 mg · Iron: 1 mg
Course: Condiments
Cuisine: Japanese
Keyword: dressing
©JustOneCookbook.com Content and photographs are copyright protected. Sharing of this recipe is both encouraged and appreciated. Copying and/or pasting full recipes to any website or social media is strictly prohibited. Please view my photo use policy here.
If you made this recipe, snap a pic and hashtag it #justonecookbook! We love to see your creations on Instagram @justonecookbook!
Update: The post was originally published on October 14, 2011. The photos are updated in November 2013.
This post may contain affiliate links. Please read my disclosure policy for details. As an Amazon Associate, I earn from qualifying purchases.