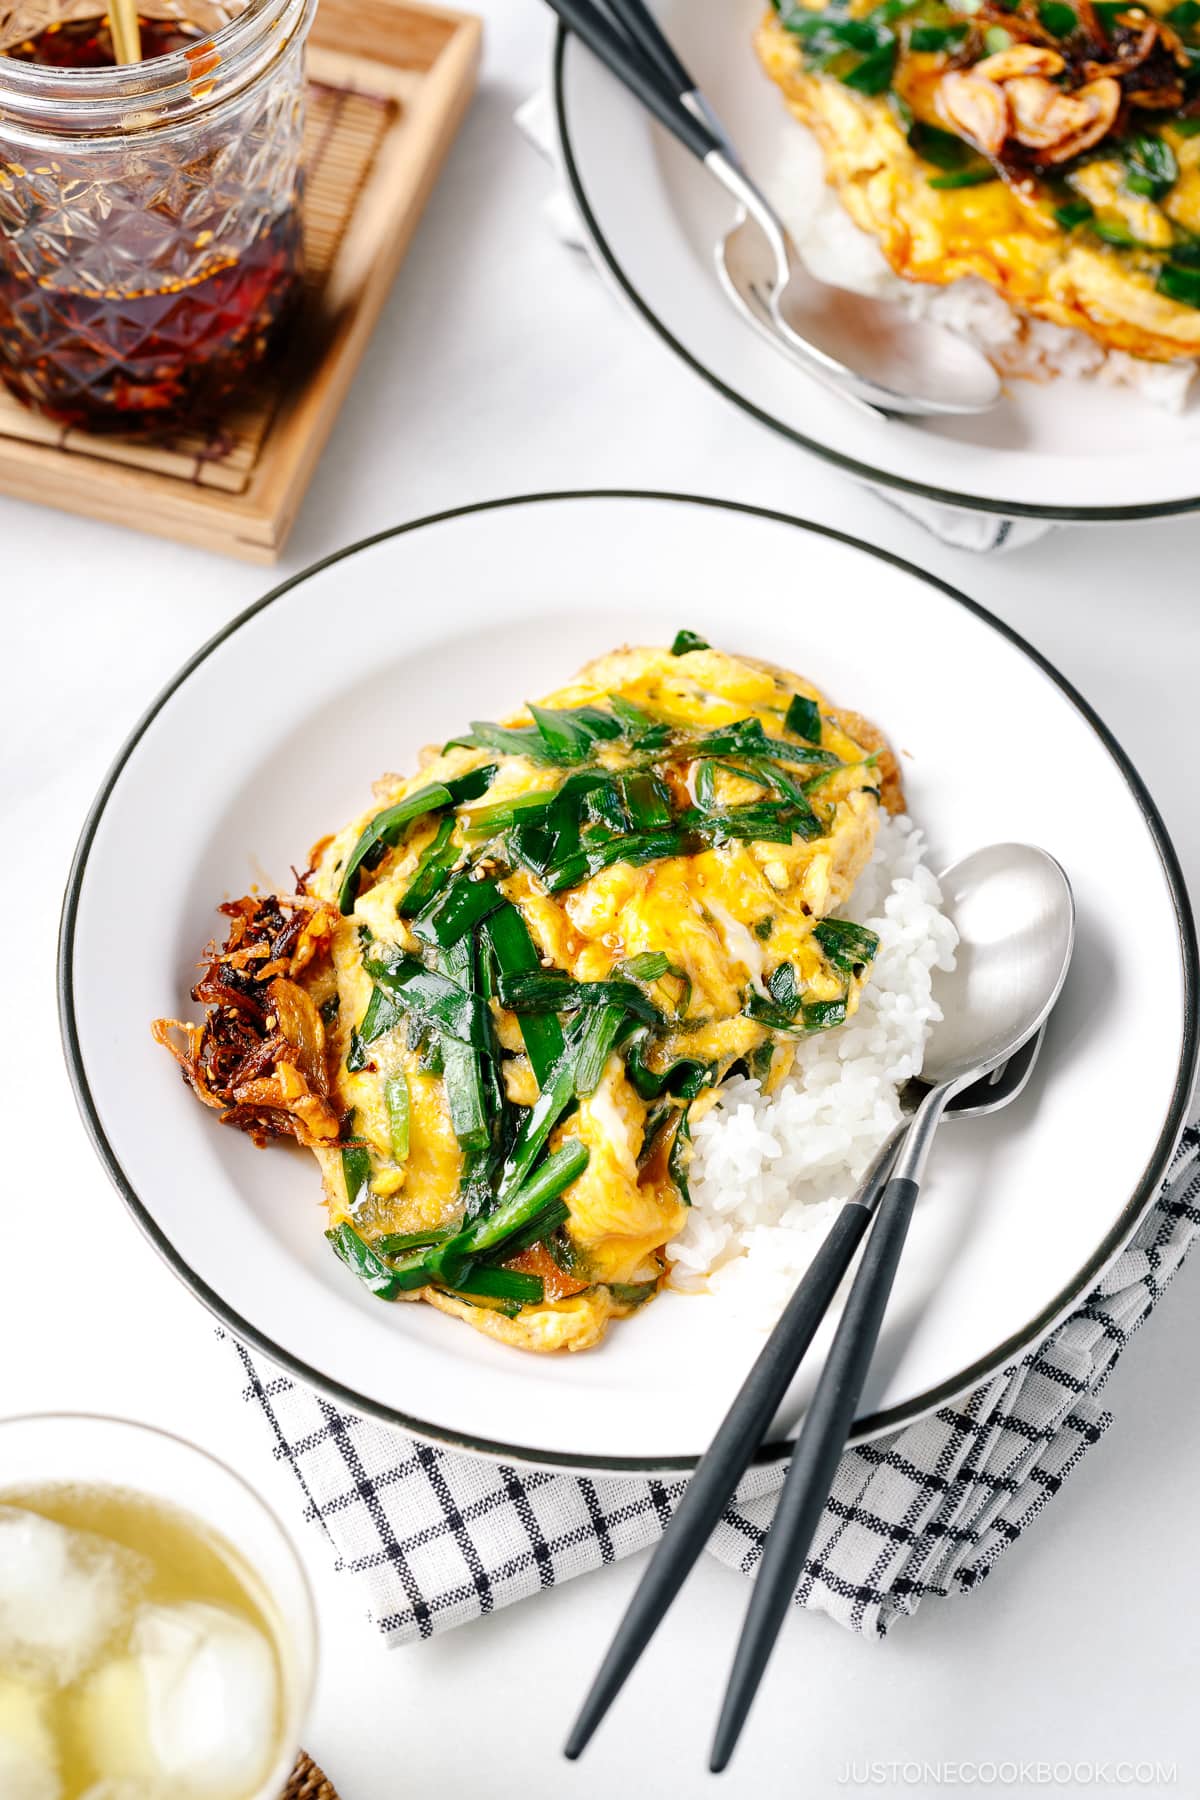
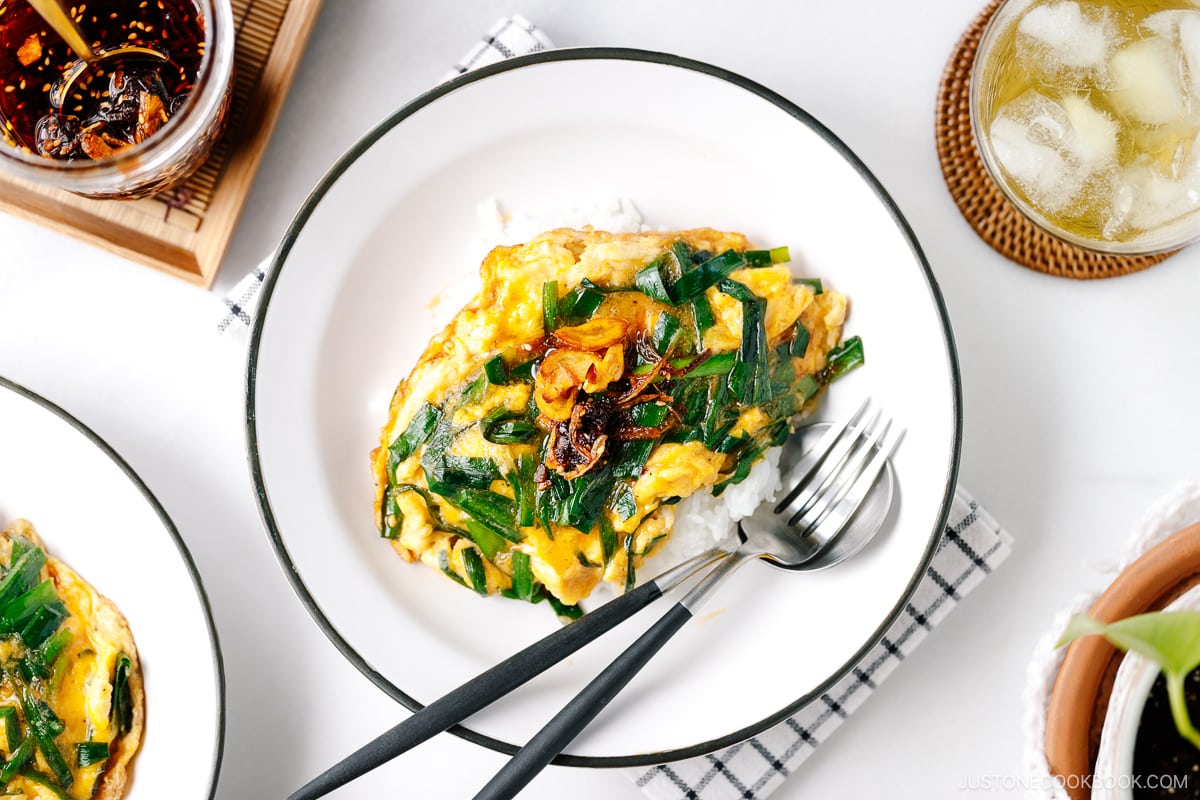
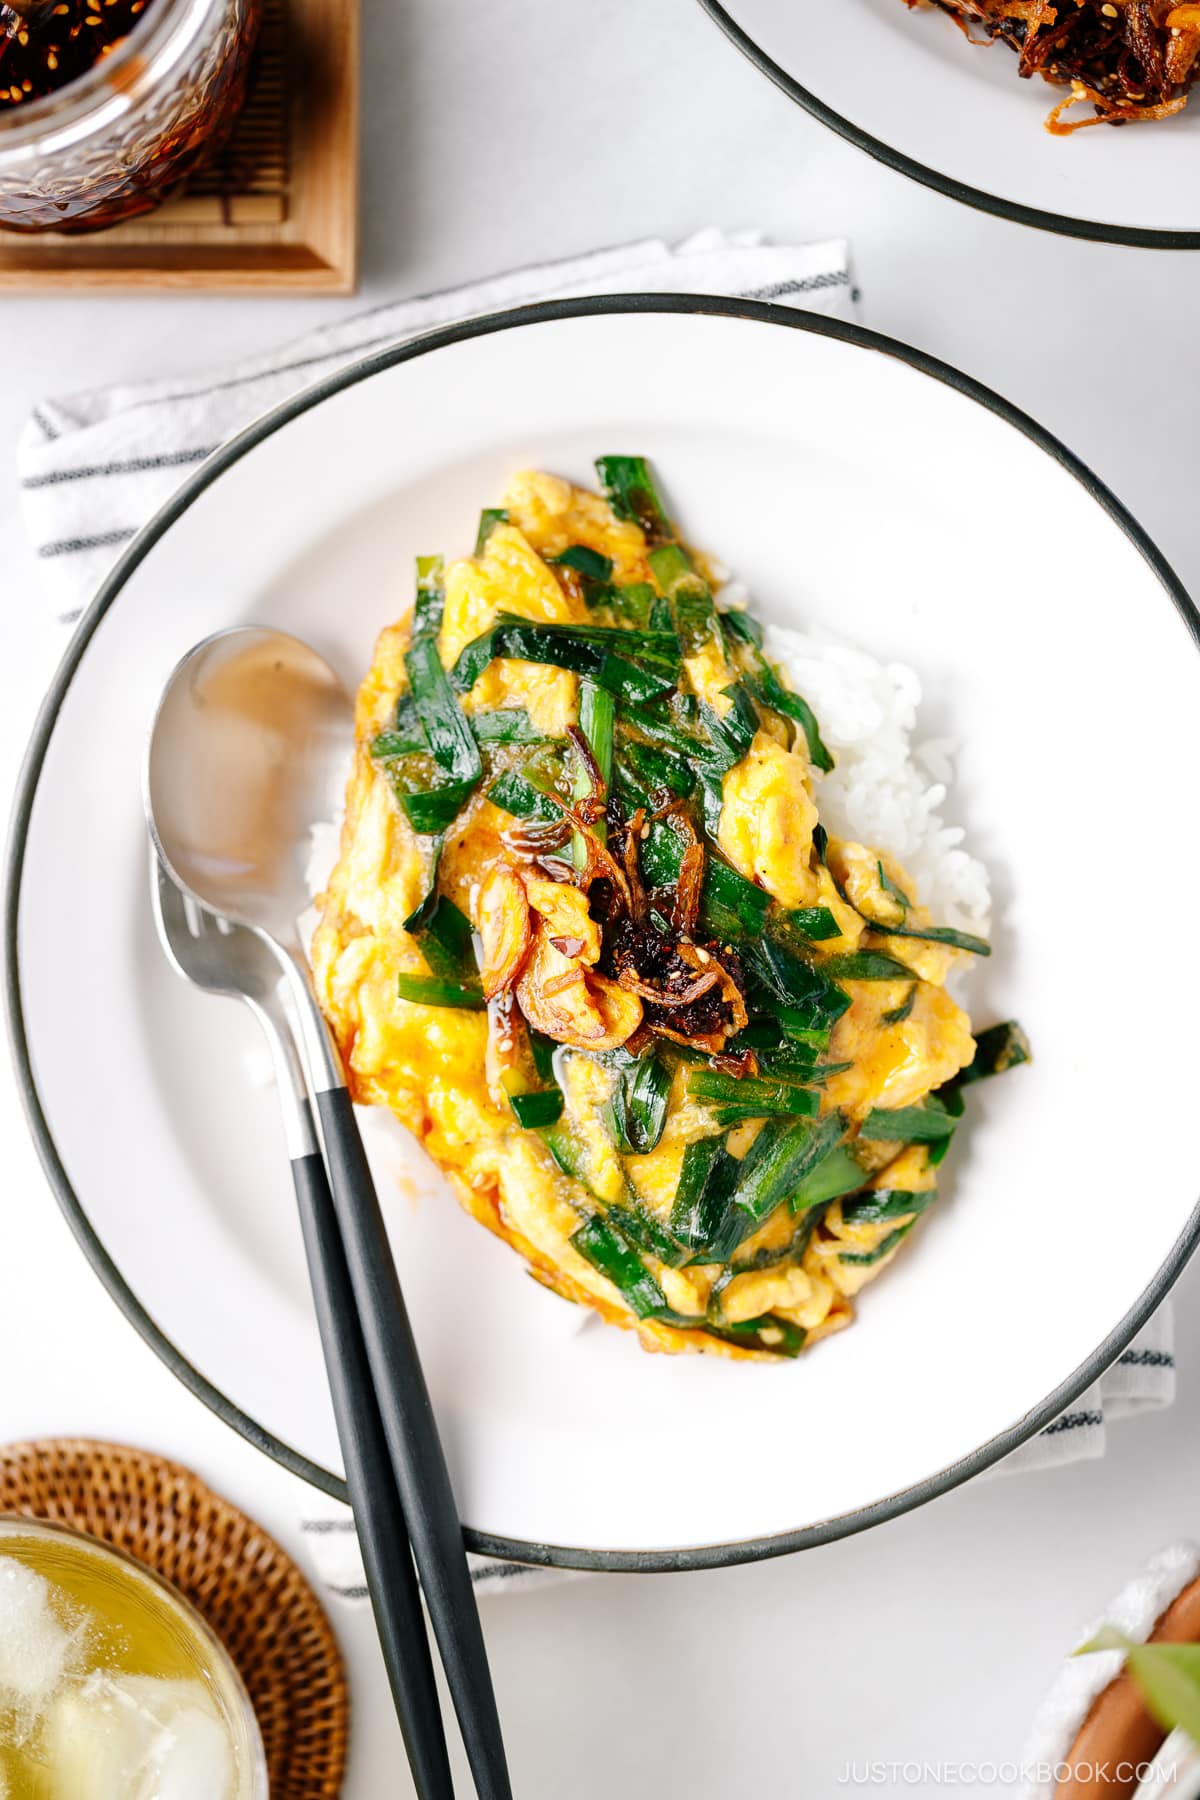
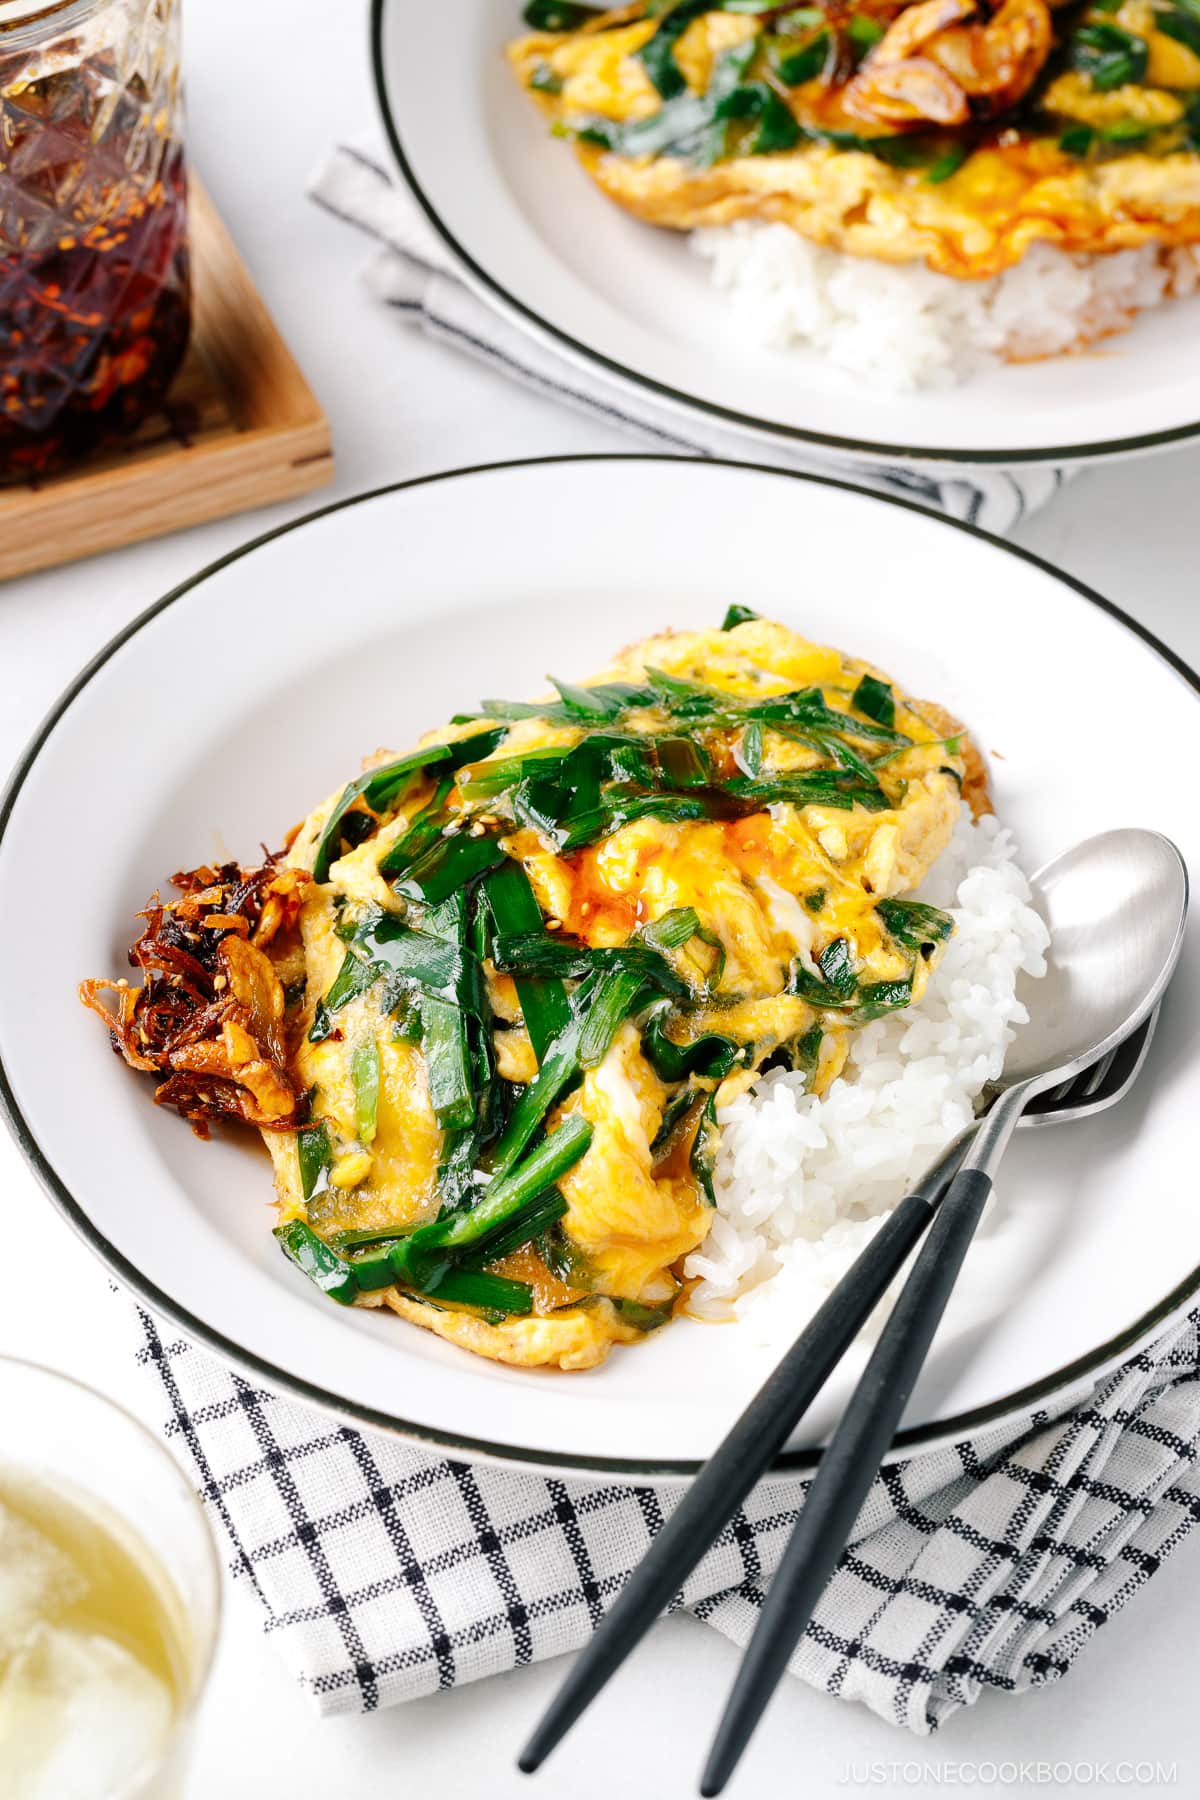
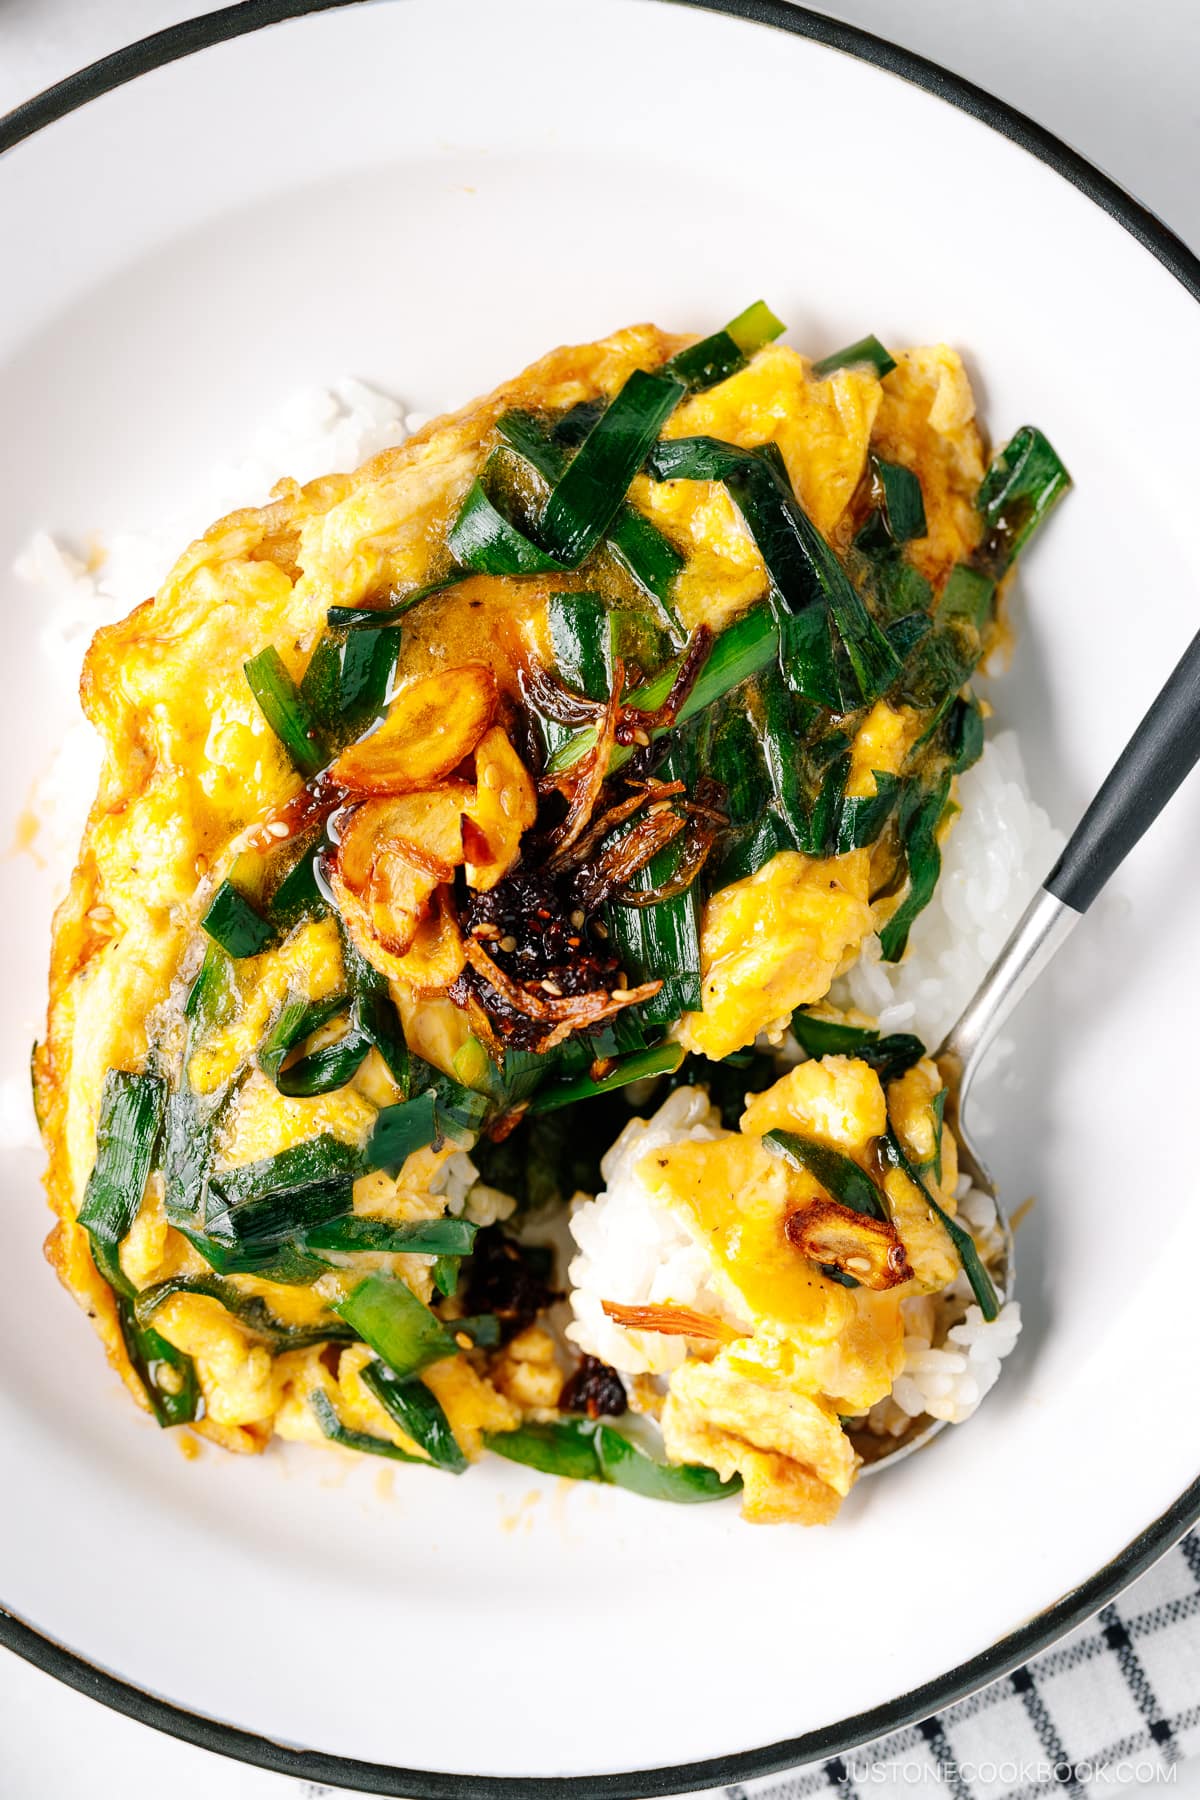
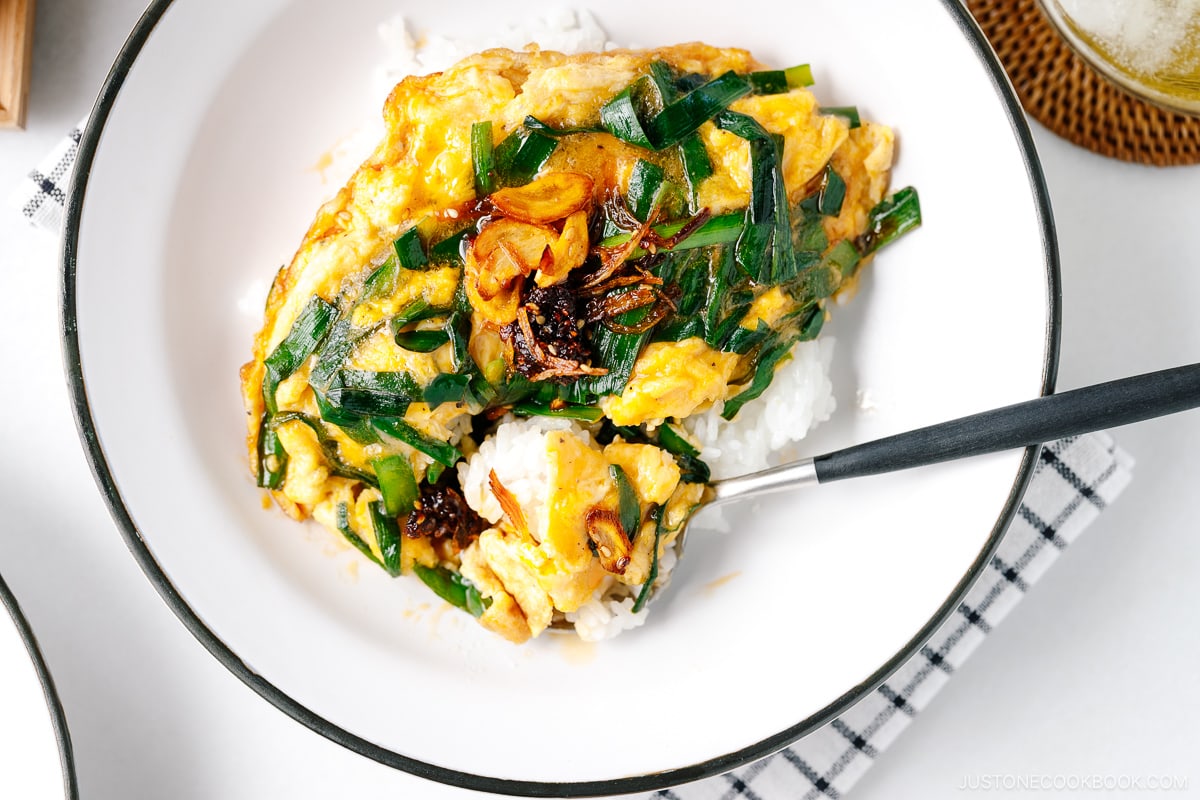
Made with four simple ingredients, Stir-Fried Garlic Chives and Egg over Rice (Niratama Donburi) is a comforting quick dish when you‘re short on time. This delicious meal is a popular example of the Japanese adaptation of Chinese cuisine called Chuka Ryori. Top it with your favorite chili crunch for a kick of umami and spice.
In my many years of cooking for the family, I’ve learned to count on one-pan and one-bowl recipes for busy weekdays. When the kids come home hungry, I can immediately cook up a decent hot meal for them without having to succumb to take-out or instant noodles!
If you find yourself in need for inspiration, I would love for you to try Niratama Donburi (ニラ玉丼ぶり), or Garlic Chives and Egg Over Rice!
This is a wholesome yet delicious recipe that anyone can rustle up in just 10 minutes! If you have eggs and chives in the fridge and frozen rice in the freezer, you’re good to go.
Table of Contents
What’s Niratama?
Niratama (ニラ玉) literally means garlic chives (nira in Japanese) and egg (tama shorten for tamago).
Here, we have eggs and garlic chives cooked until they are fluffy yet crispy on the outside and soft on the inside, and serve it over steamed rice.
In Japan, you’ll find several variations of niratama. Some dishes are covered with a thick sweet and sour gravy sauce called an (あん) or ankake (あんかけ) like Tenshinhan. Some dishes come with dashi-based sauce. Some look more like a regular stir-fried dish.
Today, I share my version, the way my family likes it. It’s very simple to follow, but you’re welcome to adapt and modify the recipe. More suggestions below!
How to Make Stir-Fried Garlic Chives and Egg
The Ingredients You’ll Need
- Garlic chives (also called Chinese Chives or Nira in Japanese) – Why use garlic chives? This allium plant is very popular in East Asian and Southeast Asian cooking because of their subtle taste of garlic with a bit of onion flavor. I love how much they can transform a simple fried egg into something so flavorful, colorful, and full of texture.
- Eggs
- Seasonings – sake, soy sauce, salt, and black pepper
- Cooking oil – sesame oil and neutral oil
The Cooking Steps
- In a bowl, beat the eggs and add seasonings.
- Stir-fry the garlic chives in a wok until they are wilted. Take them out and add them to the egg mixture.
- Cook the egg and chive mixture in the hot wok. Stir and cook until the eggs are almost done. Then, place it over the steamed rice.
Variations with Add-on Protein
I keep this recipe vegetarian-friendly, but Japanese home cooks do like to add a small portion of sliced pork loin or pork belly to make buta niratama (豚ニラ玉, buta means pork in Japanese).
Besides pork, shrimp or firm tofu would work great. Keep in mind that the protein should be a small portion since the garlic chives and eggs are the star of the dish.
Cook the protein first, before you cook the garlic chives. Take them out to a plate as soon as it’s done cooking. Add them back after your egg is almost done cooking in the wok. All you need to do is to combine it with the egg mixture.
Cooking Tips
- Do not overcook garlic chives. The flat leafy parts get cooked really fast. Start with the thick stems, then add the leafy parts. You don’t need to stir-fry for a long time.
- Distribute the oil to the sides of the wok (or frying pan). This way, when you slide the eggs, they won’t stick to the wall.
- The wok (or frying pan) should be really hot when you add the egg mixture. The hot oil will immediately cook the eggs from the edges and the eggs will float. That’s how you make fluffy eggs. If the oil is not hot, this will not happen.
- Keep in mind that the remaining heat will continue to cook the eggs. When the eggs are not runny anymore, turn off the heat or remove the wok from the heat.
- Use a small portion of the protein, if you are adding. Garlic chives are easy to blend into the egg mixture, but the pieces of protein won’t be. So, keep it in a small portion.
Spice It Up!
We love adding some of my homemade Crunchy Garlic Chili Oil (Taberu Rayu) to the egg. Compared to Chinese brands of chili crisps, Japanese chili oil is milder on the spice level. Don’t let the red color intimidate you. My kids who don’t typically tolerate heat well actually enjoy this.
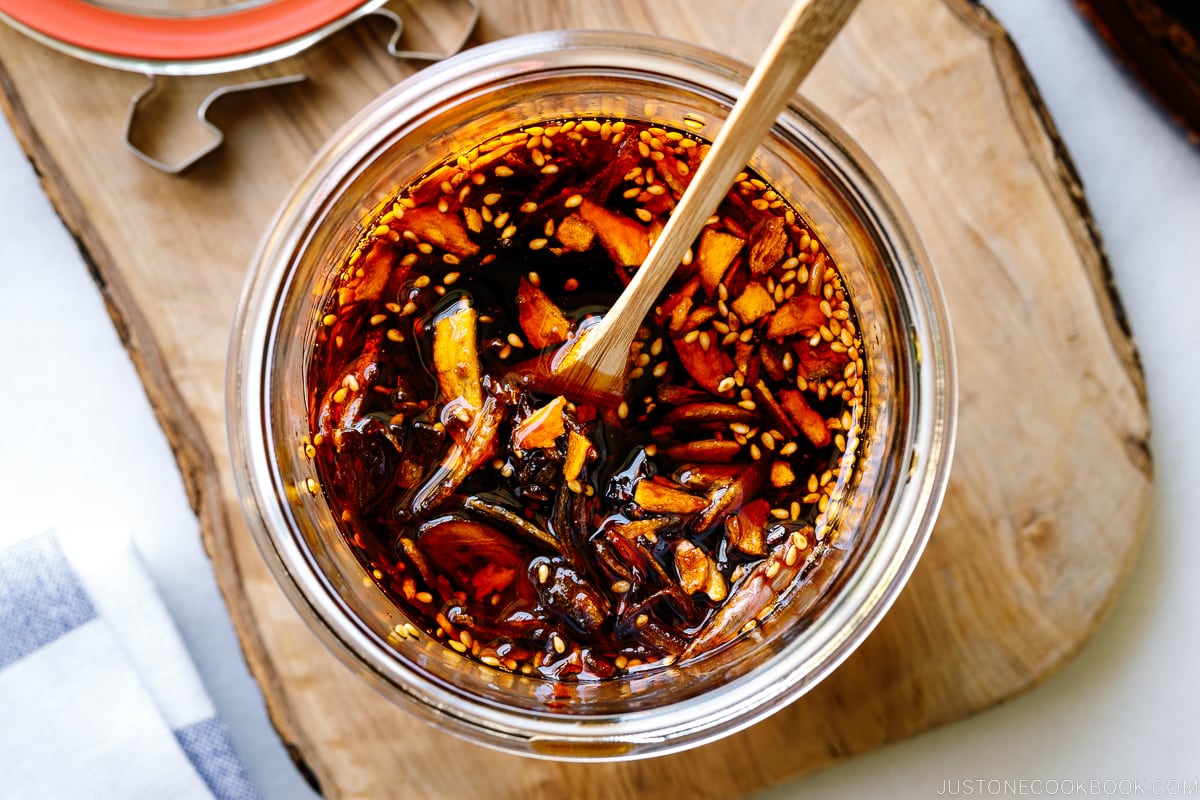
You can purchase this Japanese chili oil on Amazon, but it’s very easy to make at home so I make a big batch.
What to Serve with Niratama Donburi
You can enjoy the rice bowl as it is. For a more complete or elaborate meal, serve the stir-fried garlic chives and egg dish with rice, along with other side dishes and a soup.
- Soup: Wonton Soup, Tomato and Tofu Miso Soup, or Kabocha Miso Soup.
- Salad: Salad with Carrot Ginger Dressing, Japanese Potato Salad, or Harusame Salad.
- Sides: Miso Glazed Eggplant, Japanese Roasted Kabocha Squash, or Okra with Ginger Soy Sauce.
Wish to learn more about Japanese cooking? Sign up for our free newsletter to receive cooking tips & recipe updates! And stay in touch with me on Facebook, Pinterest, YouTube, and Instagram.
Prep Time: 5 minutes
Cook Time: 5 minutes
Total Time: 10 minutes
- 1 small bunch garlic chives (Chinese chives or Nira) (a penny-size bunch; 1½ oz, 43 g)
- 3 large eggs (50 g each w/o shell)
- 1 tsp sake
- ½ tsp soy sauce
- ¼ tsp Diamond Crystal kosher salt
- freshly ground black pepper
- ½ Tbsp toasted sesame oil (for stir-frying the garlic chives)
- 2 Tbsp neutral oil (enough to make the egg fluff up when added to the hot oil; without enough oil, the egg may stick to the wok)
- 2 servings cooked Japanese short-grain rice (typically 1⅔ cups (250 g) per donburi serving)
- Crunchy Garlic Chili Oil (Taberu Rayu) (optional; for serving)
Japanese Ingredient Substitution: If you want substitutes for Japanese condiments and ingredients, click here.
Prevent your screen from going dark
Before You Start…
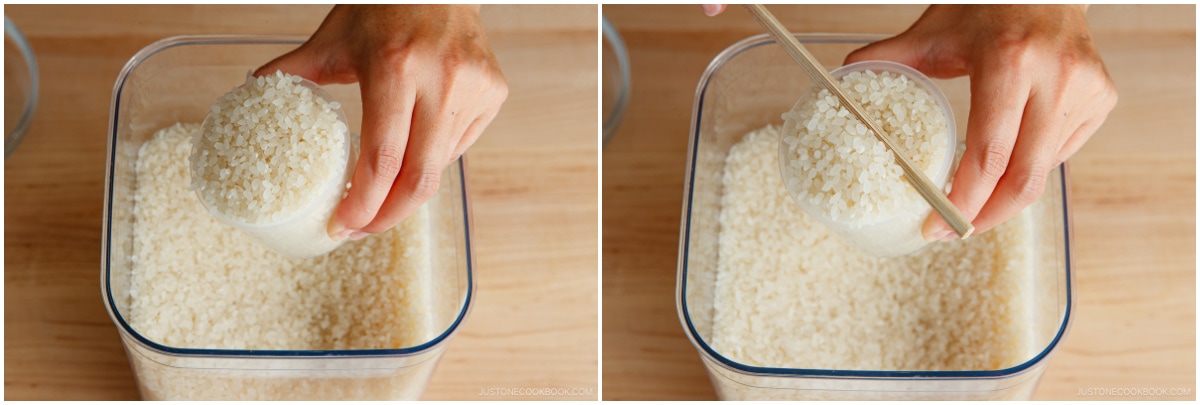
For the steamed rice, please note that 1½ cups (300 g, 2 rice cooker cups) of uncooked Japanese short-grain rice yield 4⅓ cups (660 g) of cooked rice, enough for 2 donburi servings (3⅓ cups, 500 g). See how to cook short-grain rice with a rice cooker, pot over the stove, Instant Pot, or donabe.
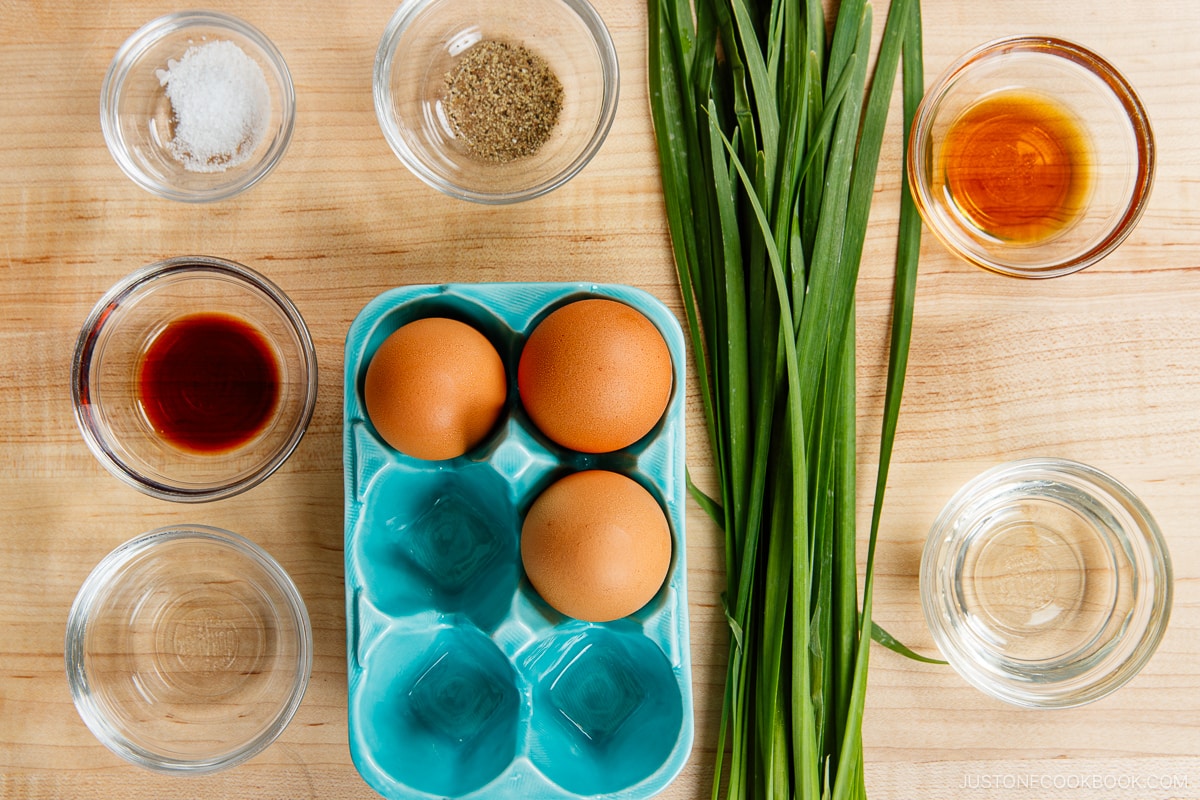
Gather all the ingredients. If you wish, you can add a very small portion of the protein of your choice to this dish. In Japan, we often add thinly sliced pork belly or pork loin to Niratama Donburi.
To Make the Niratama
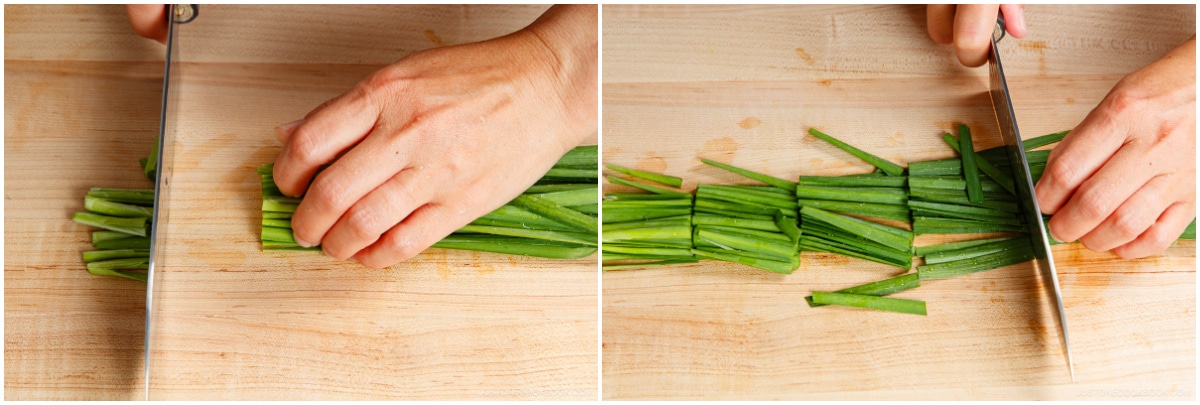
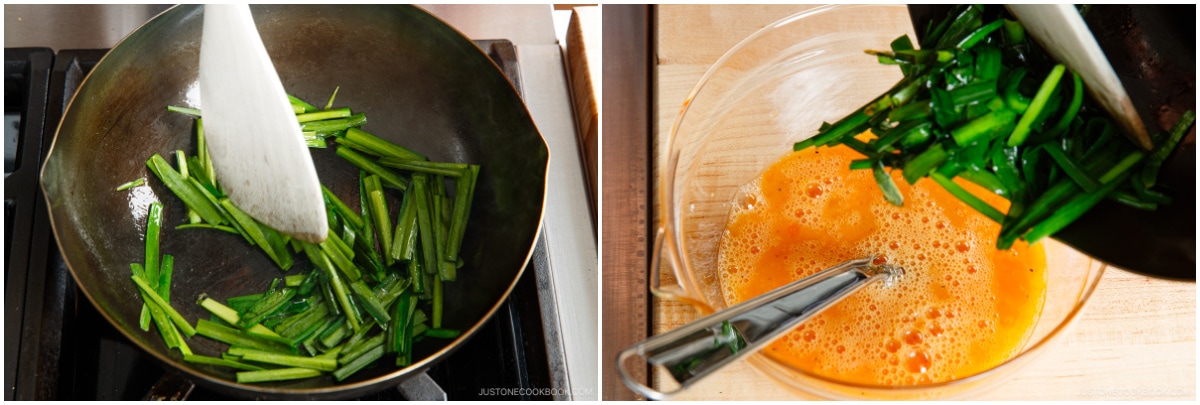
Cut 1 small bunch garlic chives (Chinese chives or Nira) into 2-inch (5-cm) pieces. Separate the tough bottom part from the green leafy part.
Combine 3 large eggs (50 g each w/o shell), 1 tsp sake, ½ tsp soy sauce, ¼ tsp Diamond Crystal kosher salt, and freshly ground black pepper in a medium bowl and mix.

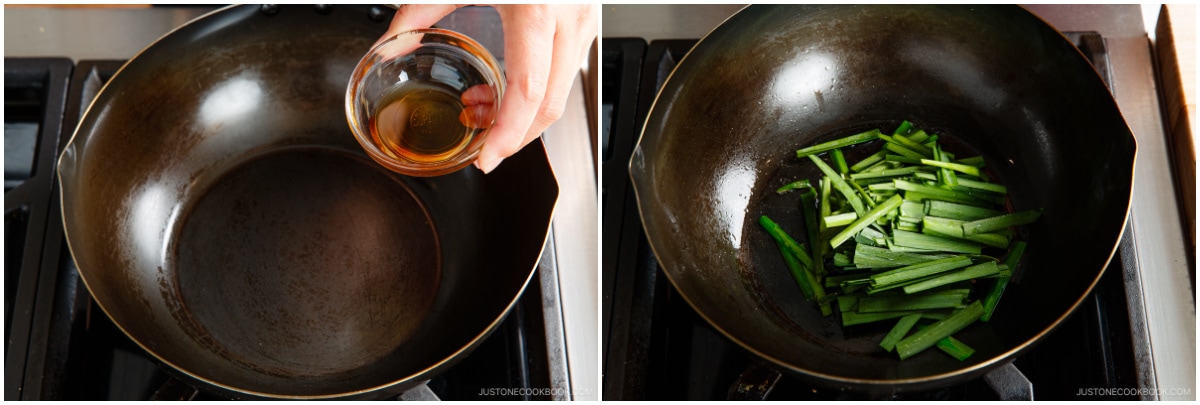
Heat a wok or frying pan (I use and love this wok; Use JOC10 to get a 10% discount) on medium high. When it‘s hot, add ½ Tbsp toasted sesame oil. To the oil in the wok, add the tough bottom part of the garlic chives first, then the green leafy parts on top. If you‘re adding protein (meat or seafood), cook it before the garlic chives, transfer to a plate, and then put it back into the wok after adding the egg mixture.
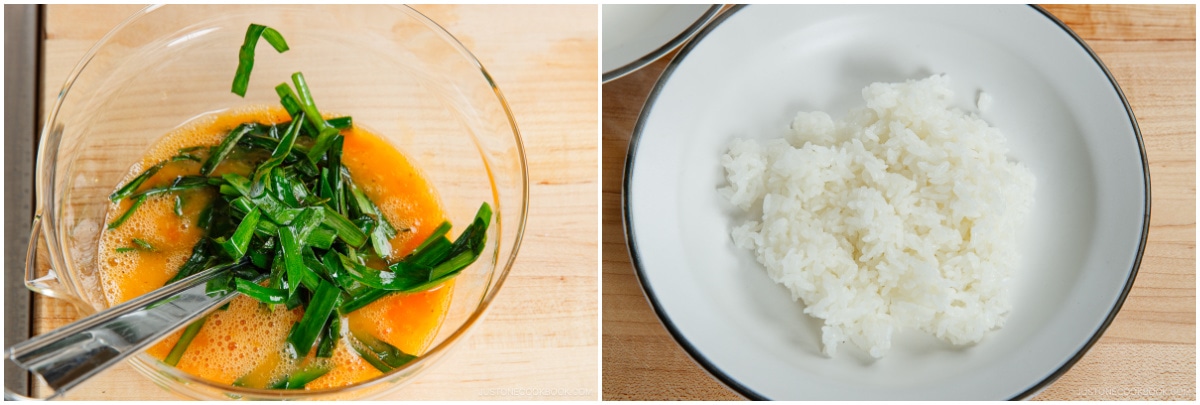
Stir-fry until slightly wilted. Then, transfer the garlic chives to the egg mixture. Tip: You don‘t need to wash the wok, but make sure it‘s clear of any food particles.
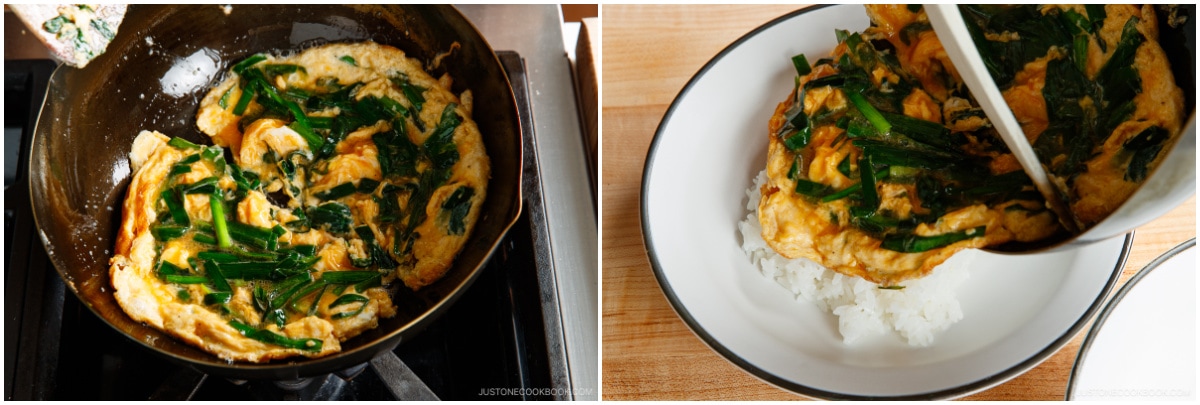
Mix the garlic chives with the egg mixture to combine. Serve 2 servings cooked Japanese short-grain rice in individual large donburi bowls or on individual plates.
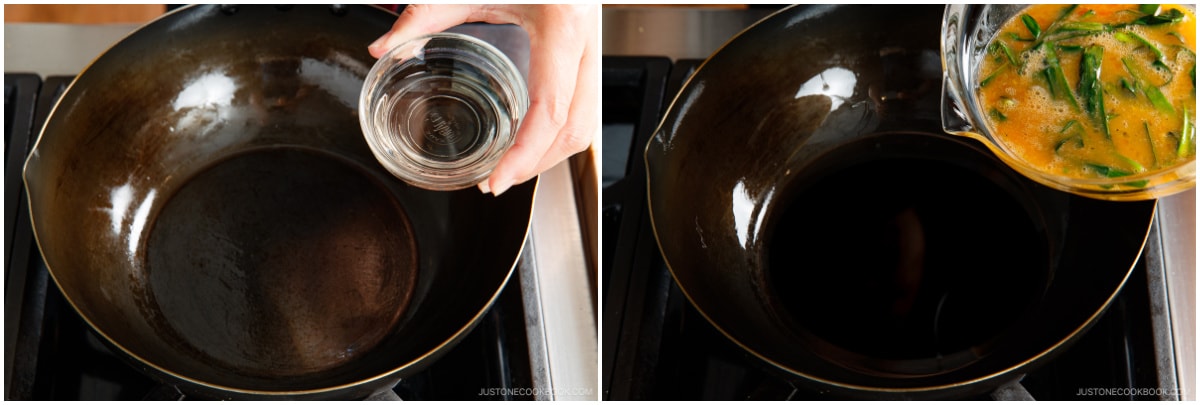
Add 2 Tbsp neutral oil to the same wok over medium-high heat and distribute the oil around the wok to coat. You‘ll know the oil is hot enough when 1) you see smoke coming off from the edge of the wok and 2) the oil looks thin and moves smoothly around the pan. To the hot oil in the wok, add the egg and chive mixture.
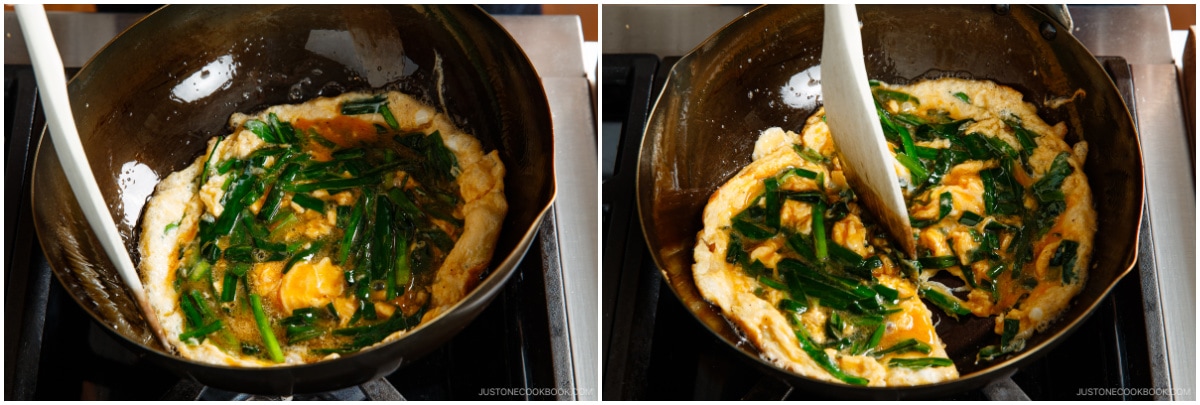
The egg mixture will get fluffy around the edges. Quickly mix only the center of the egg mixture so the raw egg has contact with the hot frying pan. The main goal is to cook the center of the egg mixture as soon as possible. Tip: We do not flip the egg because we want to keep it soft and yellow for the final presentation.

If you are adding protein, add the cooked protein of your choice at this stage. Don‘t worry if the eggs do not look completely cooked because the residual heat and the hot steamed rice will continue to cook them. When the center of the wok has less runny egg, divide it into 2 portions.
To Serve
Top the steamed rice in each donburi bowl with the stir-fried garlic chives and egg. Your Niratama Donburi is now ready to serve.
Serve this dish with Crunchy Garlic Chili Oil (Taberu Rayu) at the table. Scoop some crunchy garlic and fried shallots on top, followed by a drizzle of the chili oil, for a spicy kick and delicious umami flavor.
To Store
You can keep the leftovers in an airtight container and store in the refrigerator for up to 3 days and in the freezer for 2 weeks.
Calories: 323 kcal · Carbohydrates: 28 g · Protein: 12 g · Fat: 17 g · Saturated Fat: 4 g · Polyunsaturated Fat: 7 g · Monounsaturated Fat: 5 g · Trans Fat: 1 g · Cholesterol: 279 mg · Sodium: 327 mg · Potassium: 191 mg · Fiber: 1 g · Sugar: 1 g · Vitamin A: 1331 IU · Vitamin C: 12 mg · Calcium: 63 mg · Iron: 3 mg
Course: Main Course
Cuisine: Japanese
Keyword: donburi, egg, rice bowl
©JustOneCookbook.com Content and photographs are copyright protected. Sharing of this recipe is both encouraged and appreciated. Copying and/or pasting full recipes to any website or social media is strictly prohibited. Please view my photo use policy here.
If you made this recipe, snap a pic and hashtag it #justonecookbook! We love to see your creations on Instagram @justonecookbook!
Editor’s Note: This post was originally published on January 15, 2014. It’s been updated with the new video and new step-by-step and final images on October 6, 2023.
This post may contain affiliate links. Please read my disclosure policy for details. As an Amazon Associate, I earn from qualifying purchases.